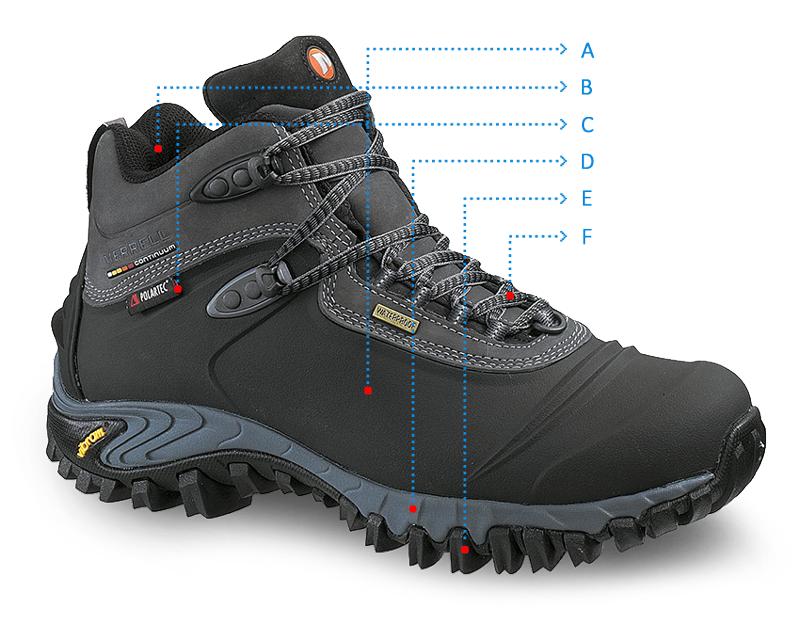
A - upper
B - linning
C - membrane
D - midsole
E - outsole
F - lacing
Winter boots
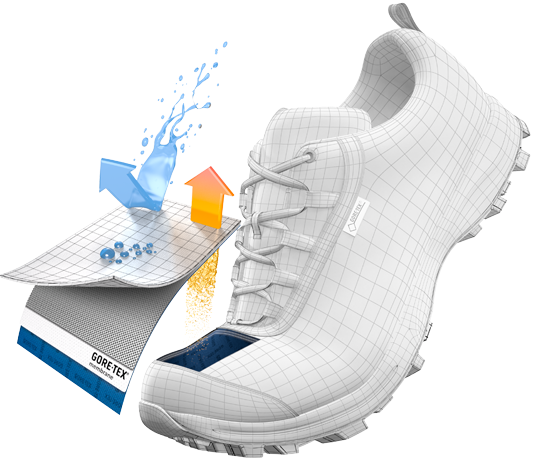
Winter boots protect your feet from cold and snow thanks to their insulation and robust design. A shoe equipped with a membrane or a waterproof coating also provides necessary protection from moisture. Winter boots are also suitable for light hiking.
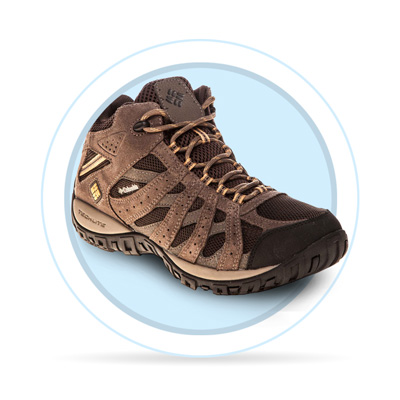
Trekking shoes
Trekking shoes are suitable for a wide variety of outdoor activities, including family trips or alpine hiking. Low-cut trekking boots are suitable for everyday wear and light terrain and offer enough support even during light or medium hiking. High-cut trekking boots with strengthened ankle protection are suitable for medium-level hiking, increased load-carrying capacity and more demanding outdoor activities.
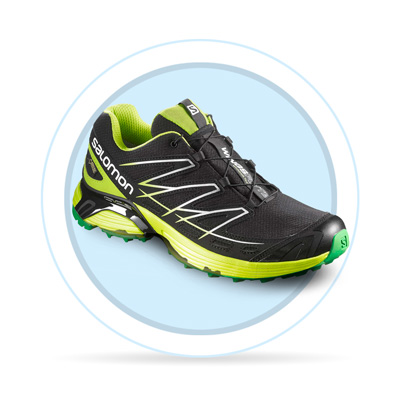
Running shoes
Running shoes protect your joints and dampen the impact. Road models will be used mainly on asphalt or strengthened roads. Neutral running shoes can be worn in a variety of running conditions or in other activities and sports. Trail running shoes with a coarser sole pattern are suitable for running on unfurnished terrain. .
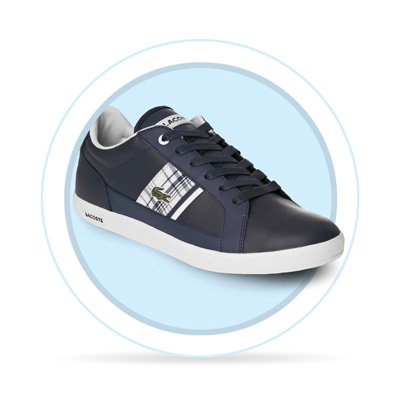
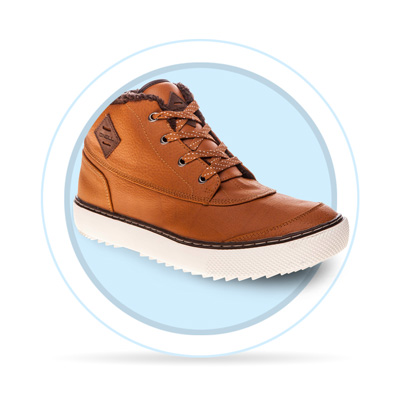
Leisure shoes
Fashionable shoes suitable for every day wearing in your leisure time. Selected shoes should be in particular comfortable and perfectly match your outfit.
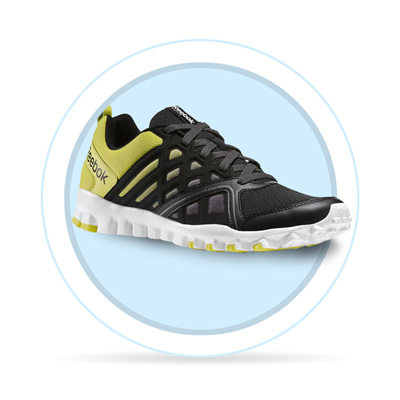
Fitness shoes
Fitness shoes provide necessary comfort during your workouts. This type of shoes are used mainly in the fitness center, gym or for aerobic activities. You will surely appreciate breathability, strength and stylish design.
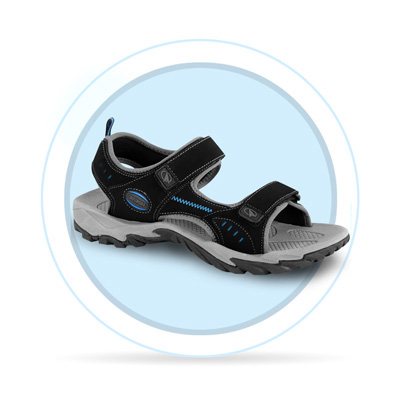
Sandals
Sporty sandals are worn on holidays and in spare time. We offer trekking sandals for light hikes, summer shoes, water sandals and even sandals for casual wear in the city.
Indoor shoes
Indoor shoes are characterized by specific properties, such as the non-marking sole. Indoor shoes are suitable for all indoor sports and indoor surfaces. We offer indoor shoes for basketball, floorball, futsal, volleyball, tennis, squash or badminton. This type of shoes is also suitable for gym or fitness.